Sulawesi Shrimp: Tank Setup, Feeding, Breeding.
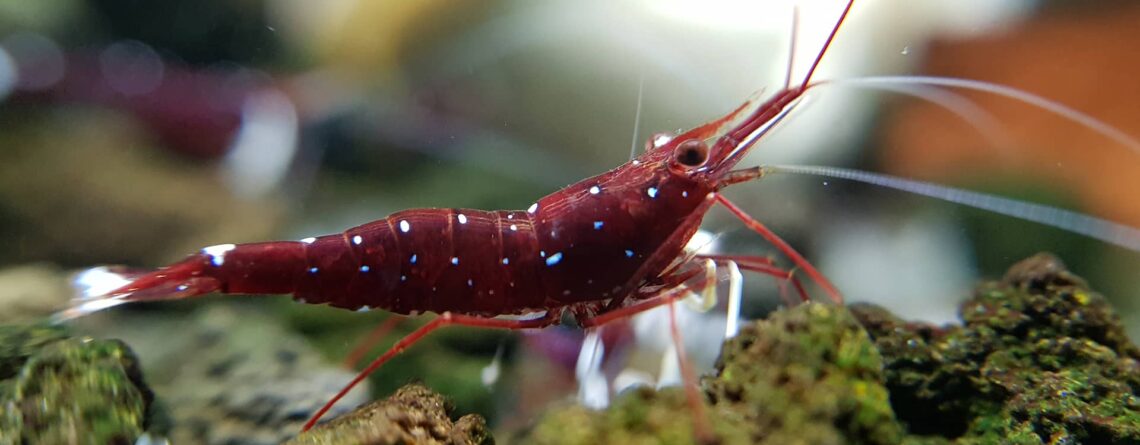
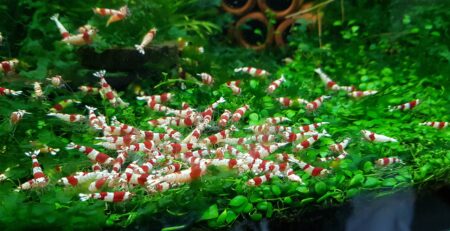
Cardinal Dennerli Sulawesi Shrimp, also known as White Socks are one of the most beautiful and underrated shrimp in the aquarium hobby. They have bright to deep red bodies, white iridescent spots, and they appear to be dancing in the tank with their white feelers constantly moving around looking for food. Once set up, they require minimal effort and is a stunning shrimp to show off to your fishy friends.
This guide sets out to show you how to set up a tank for shrimp, take care of them and share some general knowledge to make you a master at keeping, and hopefully even breeding them!
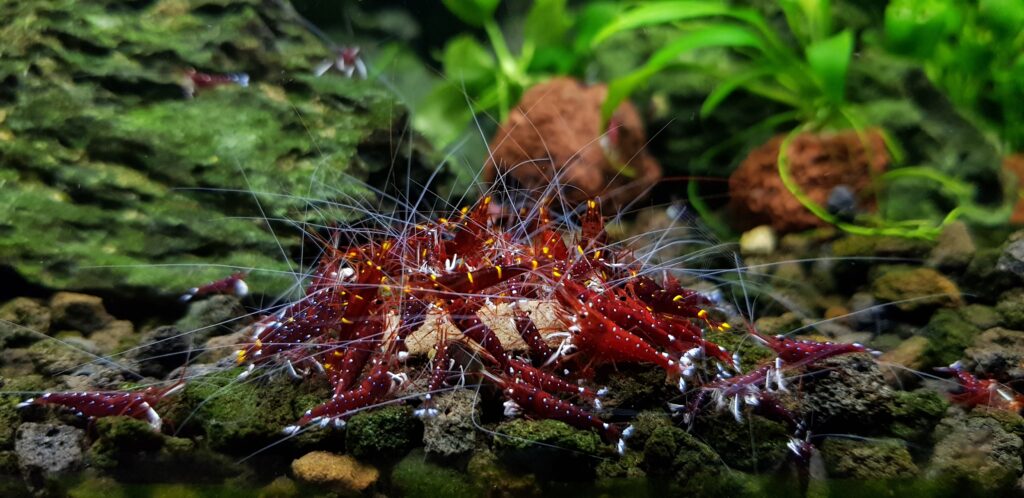
Table of Contents
Setting up the tank
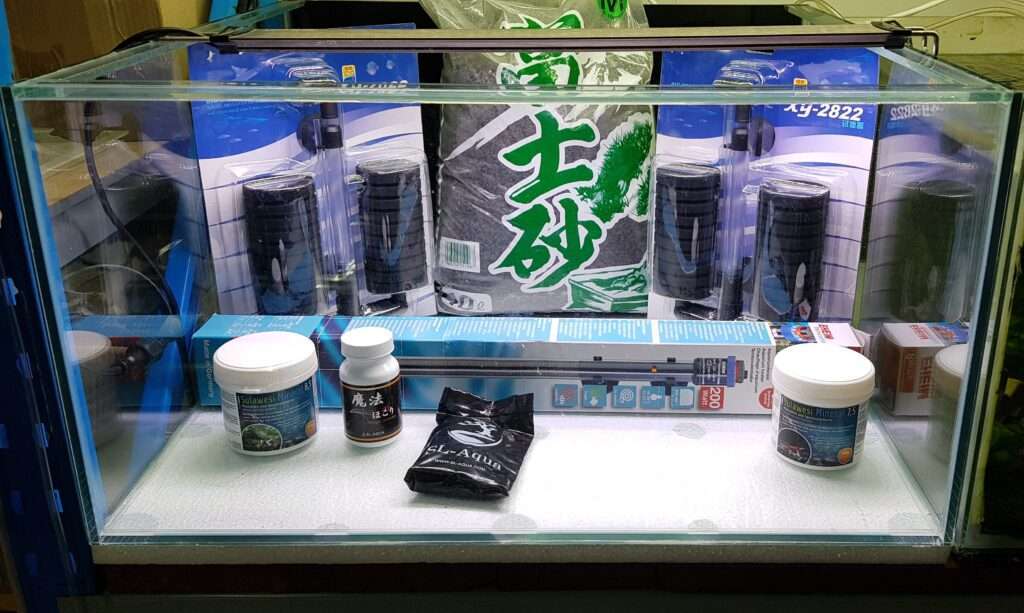
Required equipment for a Sulawesi tank setup
- Tank
- 30 litres (Minimum)
- 60 litres (Recommended)
- Inert Substrate
- Crushed black lava rock (Recommended).
- Seachem Onyx.
- Pool filter sand.
- Aquarium Heater
- Correctly sized for the tank to maintain 27-29°C.
- Highly recommended to get a quality heater as Sulawesi are very temperature sensitive.
- Aquarium Filter
- Sponge filter (Recommended).
- Other aquarium filters can also be used if they are modified to be shrimp safe.
- Aquarium Light
- Any aquarium light.
- Medium intensity light is recommended for algae growth.
- RO Water and Sulawesi Shrimp Minerals
- RO water and minerals is mandatory for Sulawesi.
- Hardscape and plants (Optional)
- Any inert hardscape that will not alter the water.
- Hardy plants that can withstand the temperature.
- Starter Bacteria (Optional)
- Tank
1. Assembly and cleaning
New equipment sometimes needs some assembling. The first step is to set up anything so that it is easily available in later steps.
If you are using brand new equipment, it is recommended to give everything a rinse to ensure that there is nothing on the equipment from the factory, such as oil, dust or any other residual contaminants.
Personally, I use lukewarm tap water, to rinse everything off to ensure that I am not introducing anything odd to the new tank. For the tank itself, I wipe it down with a wet paper towel, as they normally gather a fair bit of dust when they stand in a store.
If you are using secondhand equipment or re-using from another tank, it might also be a good idea to give it a scrub if you don’t want to introduce anything from the old tank.
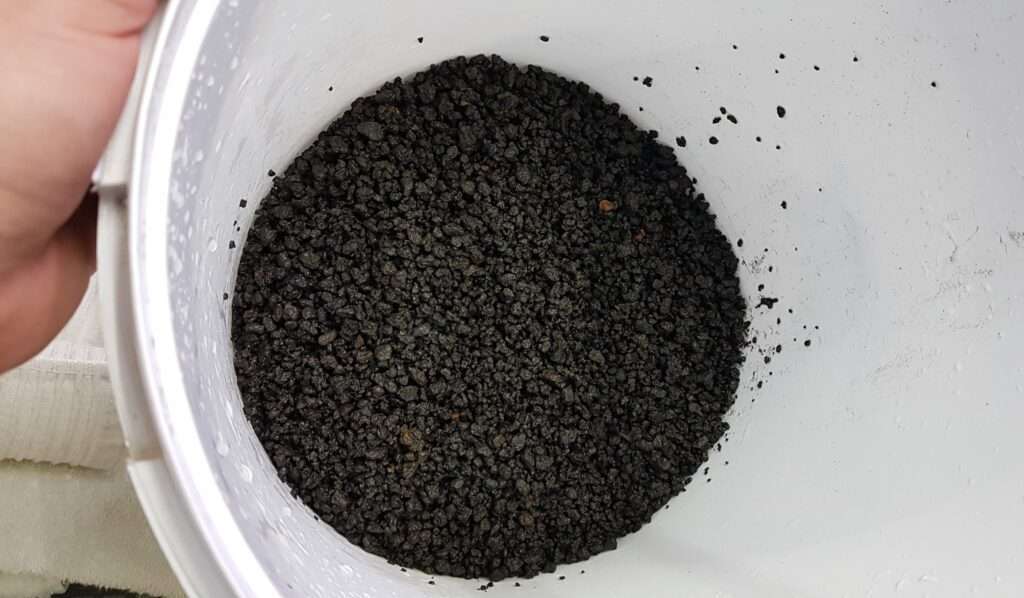
Depending on the substrate you are using, it may require a rinse. Lava rock normally gets very dusty and needs a good clean before use. Pool filter sand also sometimes benefit from a rinse. Easiest is to add the substrate to a bucket and mix it while running water through it until the water runs clear.
2. Substrate
Setting up a tank is simple once you have all your equipment prepared.
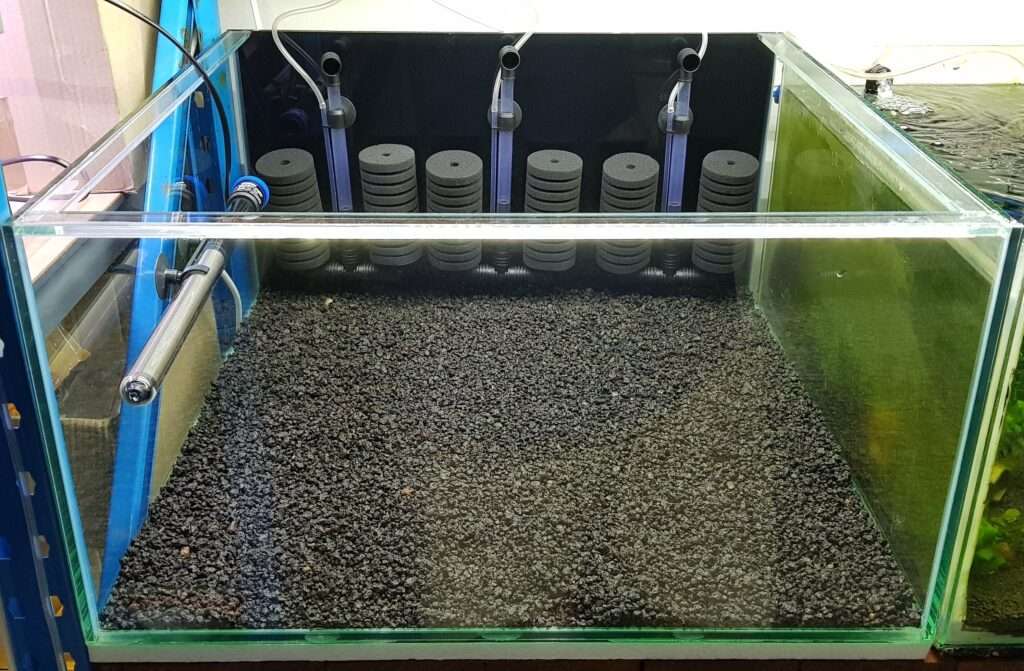
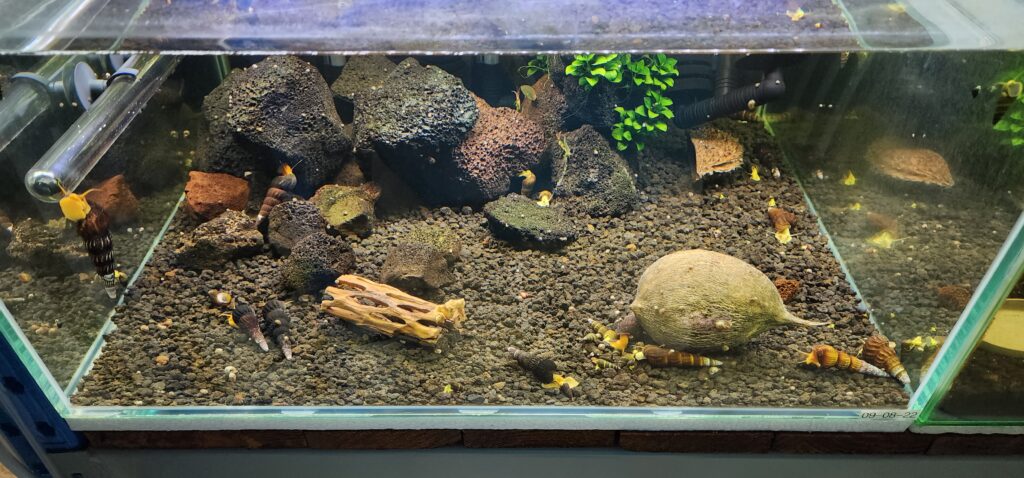
First step is to get your tank and your desired substrate ready. For this guide we are setting up a Sulawesi tank, so I will be using inert substrate (Black Crushed lava rock) as my choice as the bright red Sulawesi contrasts with it and will ultimately look amazing.
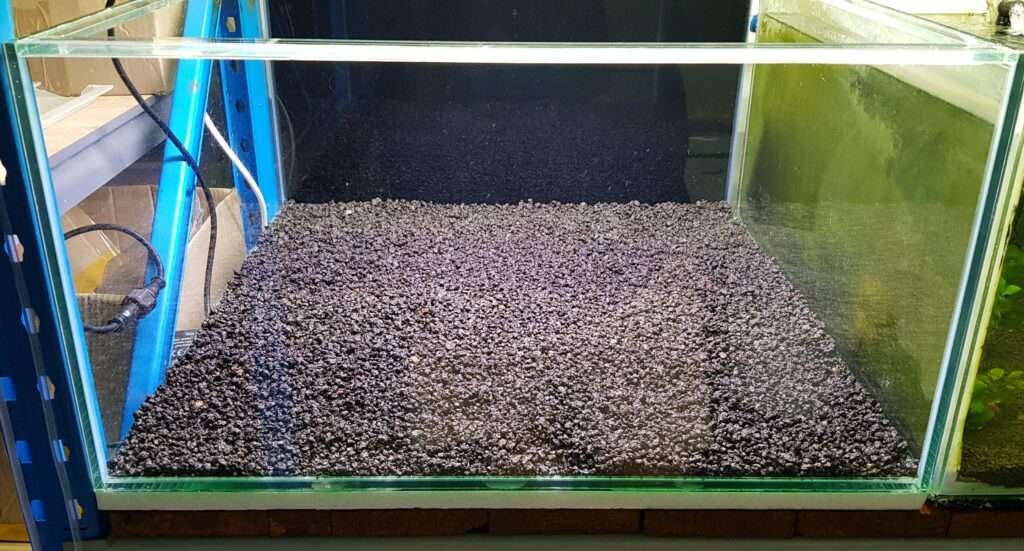
You only need a thin layer of inert substrate to cover the bottom of the tank for Sulawesi. The thin layer will allow for easier cleaning, as thicker substrate will gather sludge (organic waste, detritus, excess food and dead plants), that can cause tank health issues over time. This is especially true with Sulawesi shrimp as their waste is finer than other shrimp.
Roughly 2L of crushed lava rock is enough to cover a standard 60cm (2ft) tank.
3. Filters and heater
Add your sponge filter to the tank and hook it up to your air source making sure you have sufficient air supply to run your sponge filter. I would recommend keeping the filter 1cm off the gravel of the tank and adjust the filter so that the water is thrown out just slightly above the water level. This will help to create additional surface agitation and more oxygen in the tank which is critical for Sulawesi setups.
Place your heater in your tank, ensuring it is deep enough to always be covered and that it will have sufficient flow over it. You can always point your filters towards your heater to assist with this. Since the tank will be at roughly 27-28 degrees its important to ensure your heater has flow around it to evenly heat and maintain your tank temperature.
Canister filters are also great for Sulawesi tanks, but they have to be made shrimp safe by adding something onto the inlet to prevent shrimplets from getting sucked up. Its also recommended to adjust the flow according as they prefer gentler waters rather than fast moving water.
4. Hardscape and plants
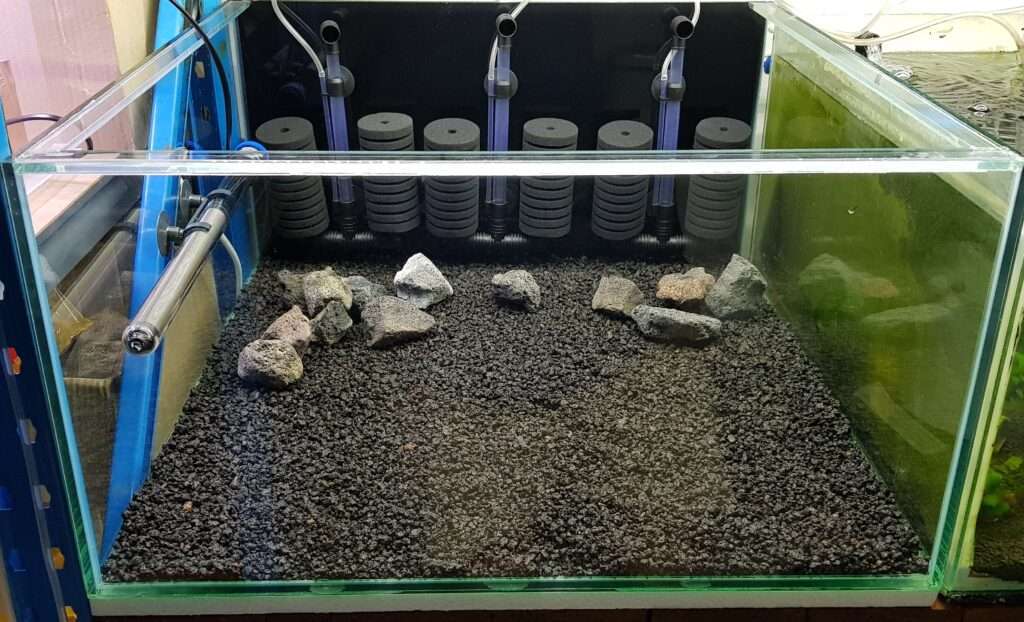
Sulawesi shrimp’s natural habitat does not contain a lot of wood or plants so they are not needed in a setup. Their habitat is mainly rocky plains with plenty of hiding space with the odd piece of driftwood that have landed in the lake.
We have found that black lava rock works great in Sulawesi setups for two reasons. Firstly, its cheap, and secondly it also provides plenty of surface area for bacteria and algae, both of which is very important in a Sulawesi setup.
Plants and wood can be added, but please ensure that they will survive the high mineral and high temperature environment.
We have found that larger Anubias and Cryptocoryne species adapt to the water conditions.
5. Bacterial Powders (Optional)
This is an optional step, but if you have extra funds this step will help out the tank in its initial stages.
Now that the tank is basically completed layout wise, we can sprinkle in some bacterial powder on the soil and rocks that will help rapidly establish beneficial bacteria colonies.
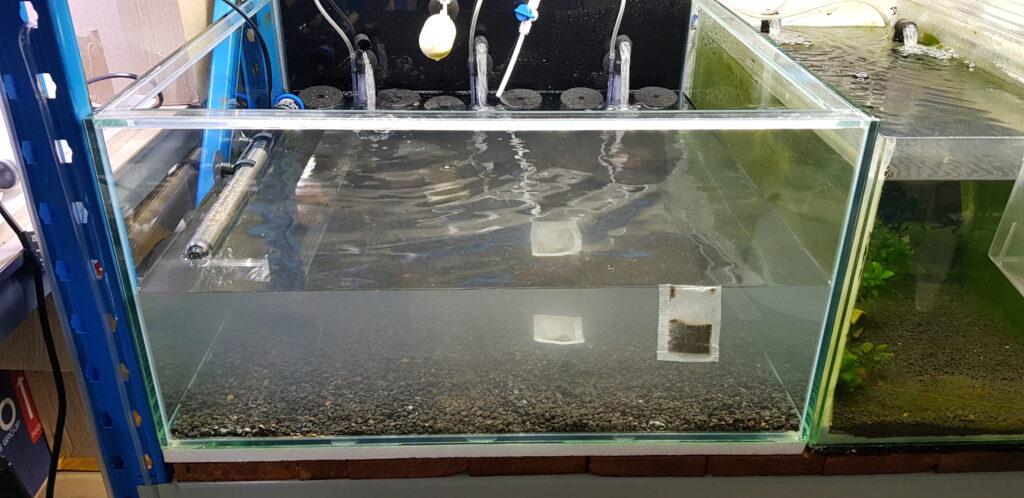
We prefer to use SL-Aqua’s Magic Powder and adding a SL-Aqua Vitality bag in while cycling.
6. Minerals, RO and Filling up
Now that everything has been added to the tank, we can focus on filling up the tank with the correct water.
It is critical to fill up the tank with water that has been re-mineralized with the correct Sulawesi minerals for the cycle period and not to use pure RO or tap water. We want the tank to mature and build up minerals during the cycling process and thus need to use the correct water from day 1.
At Shrimp Nation we use Salty Shrimp 8.5 for all our Sulawesi tanks. It is harder to dissolve, and we use CO2. We mix our RO water to a TDS of 185. If you do not have CO2, and want an easier mixing process then Salty Shrimp 7.5 is the way to go.
Once you have the correct water prepared, slowly fill the tank to not disturb the hardscape and substrate. Its normal for the tank to look slightly milky when filling due to the high minerals. It normally clears up within a few hours.
7. Cycling Process
The last step is to let the tank fully cycle and mature before adding your livestock.
TIME IS YOUR FRIEND!
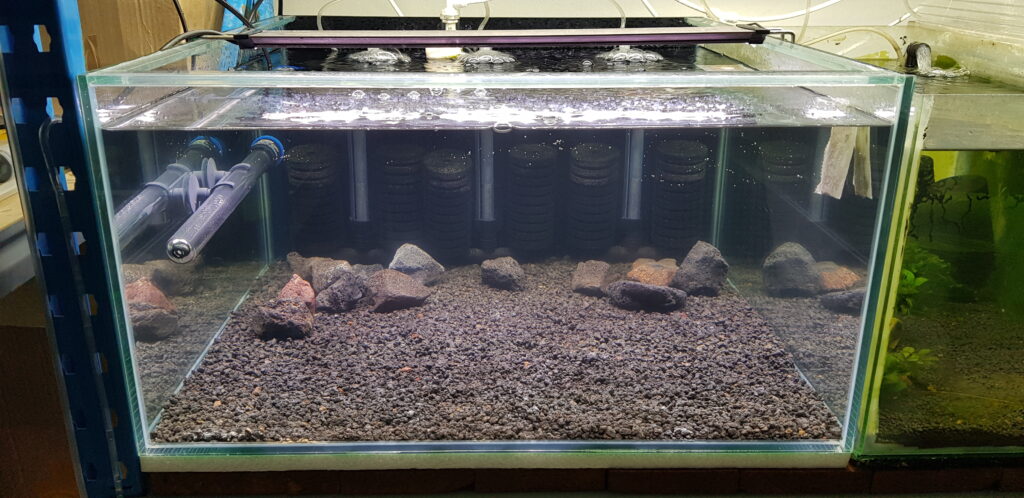
We recommend cycling a Sulawesi tank at least 2 months. Sulawesi shrimps are much more sensitive that other shrimp and we highly suggest to cycle the tank as long as possible.
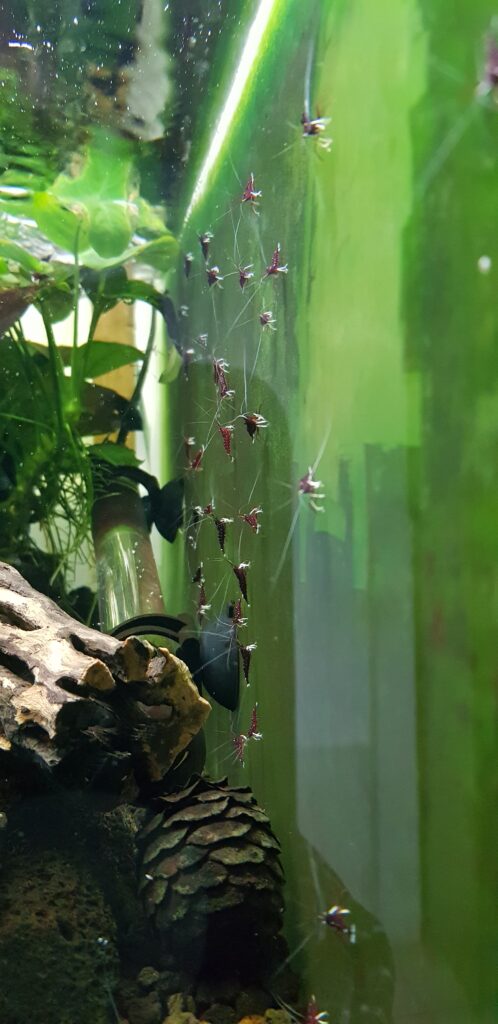
During the cycle process we like to leave the tank light on for 24 hours for the first 3 week as this helps the tank to grow a large amount of algae for the shrimp as its their main food source. A green tank is a happy tank.
It is recommended to turn your heater on during the cycle to allow the bacteria that establish in the tank get used to the environment. Otherwise you can turn the heater on 2 weeks before adding livestock to the tank.
8. Adding Livestock
After your tank is filled cycled its safe to add livestock. Since Sulawesi shrimp normally have a much higher temperature its recommended to drip acclimate them, and then float the container they were dripped in, in the tank to get them temperature acclimated as well. Ensure that the TDS of the dripping container is relatively close of that of the tank before adding your shrimp.
To ensure your new shrimp are not stressed out you can leave your light off for the rest of the day while they settle into their new tank.
We have found its not uncommon for White Sock Sulawesi to hide for quite some time while they get used to the tank and explore. Once they are comfortable they will naturally venture out and feed all over the tank.
Feeding
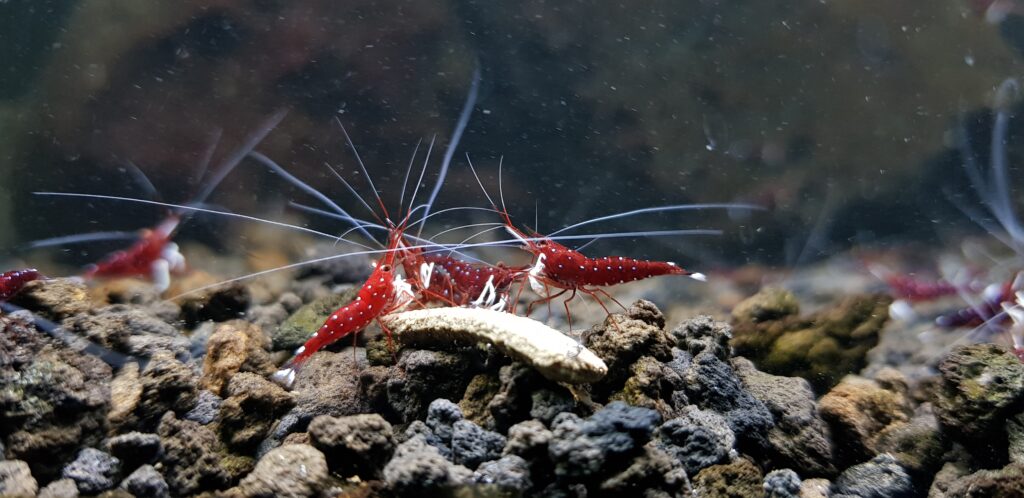
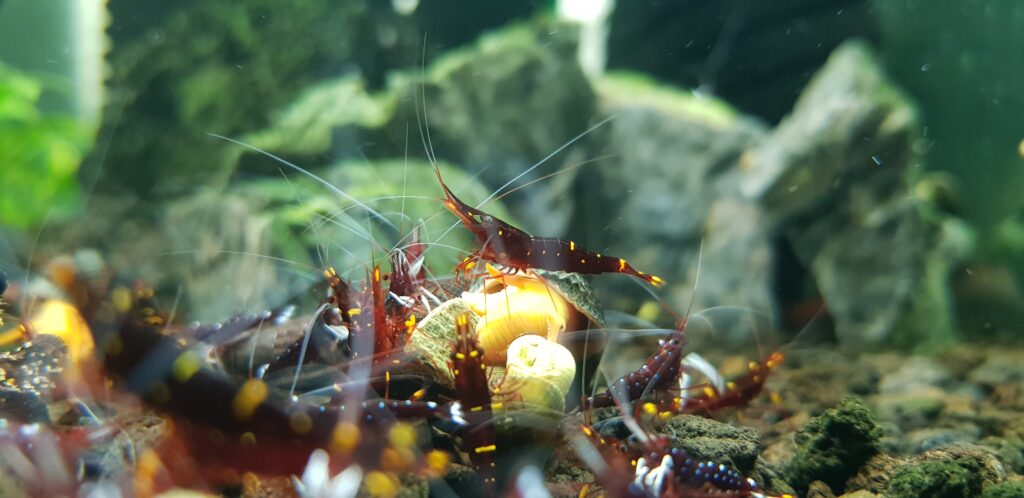
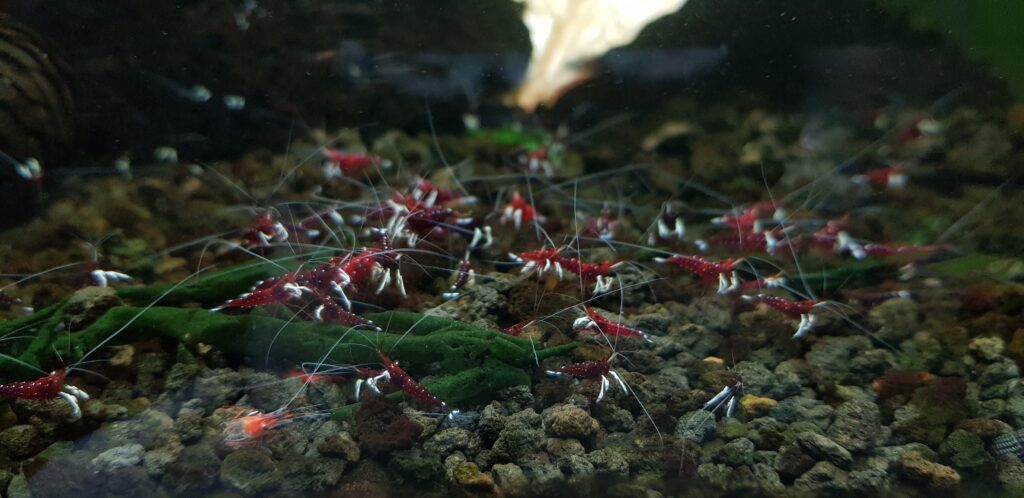
In nature the Cardinal Sulawesi consists of algae, biofilm and decaying plant matter. If you followed this tank setup guide your tank should already have formed some biofilm and algae. They can also be trained to eat commercial foods should your tank not have enough food to sustain them.
We have found the following commercial foods work very well for White Sock Sulawesi and Yellow Cheek Sulawesi:
- GlasGarten Shrimp Dinner 2
- HWA Shrimp Comprehensive
- GlasGarten Shrimp Baby (Fed very sparingly when there are baby shrimp)
- GlasGarten BacterAE (Fed once every 2 weeks for a slight boost in the tank)
Tank maintenance
Maintaining your Sulawesi tank is easy. We recommend a 10% water change every two weeks, and once every two months a light gravel vac around the feeding areas. As your tank matures more and more you can do a deeper gravel vac to ensure the tanks stays healthy. If you are running sponge filters, clean them out once as needed or every other month. Remember to mix your water a few days before your plan to do the water change to ensure the minerals get mixed thoroughly
Due to the high temperate the tank runs at, evaporation is something that you need to be mindful of. Top up the tank with pure RO water weekly to ensure you maintain the correct water level and mineral levels in the tank. An auto top up valve can save you a lot of time and help keep parameters stable if added to the tank.
You can clean the front panel of the tank to view your shrimp but leave the other sides to get nice and green for your shrimp to feed from.
Conclusion
Setting up a Sulawesi aquarium requires careful attention to detail and a thorough understanding of the unique needs of Sulawesi shrimp. By following the steps outlined in this guide, you can create an optimal environment for your Sulawesi shrimp to thrive and grow.
From selecting the right tank size and equipment to maintaining the appropriate water parameters and ensuring proper feeding and care, this guide covers all the essential aspects of setting up and maintaining a Sulawesi aquarium. Whether you’re a beginner or an experienced hobbyist, you’ll find valuable tips and insights that can help you achieve success with your Sulawesi shrimp.
Overall, keeping Sulawesi shrimp can be a rewarding and enjoyable hobby, and with the help of the above, you can create a beautiful and healthy aquarium that will provide a suitable home for your Sulawesi shrimp for years to come.

Leave a Reply
You must be logged in to post a comment.